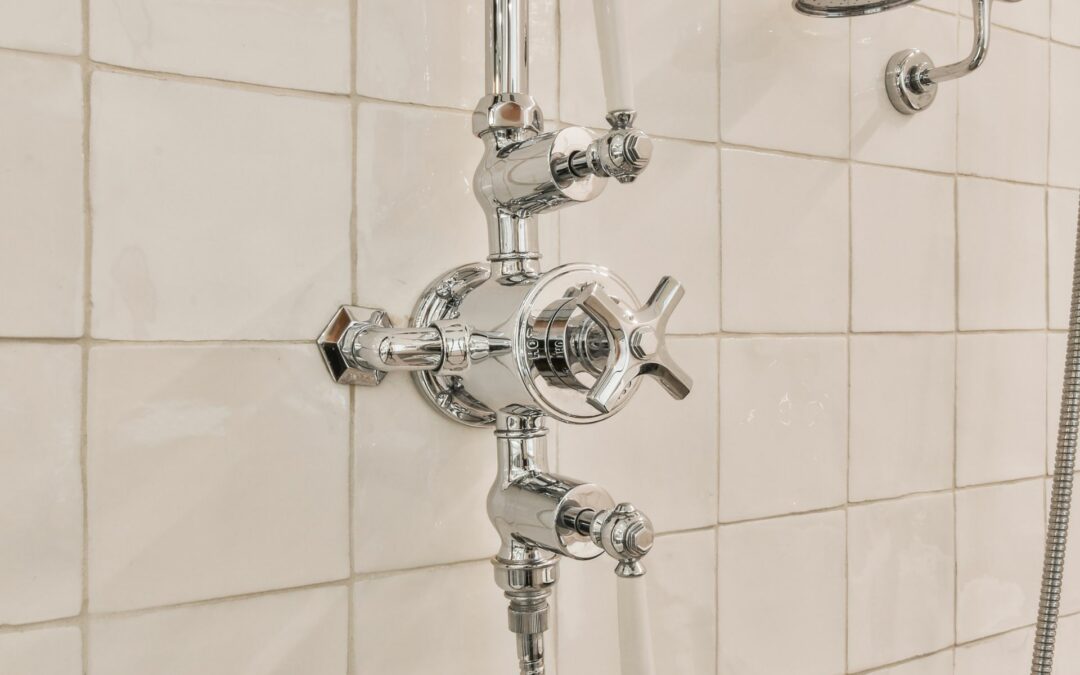
When it comes to showering, the shower valve is the component that helps control the water temperature. Without it, you’d be rushing your way through sharp, ice-cold water instead of taking the time you need in nice, hot, soothing water. The shower valve also ensures that your water pressure is just right. However, shower valve replacement is a huge part of ensuring your whole bathroom remains functional. In this blog, you’ll learn the signs that it’s time for a shower valve replacement and the steps required to complete this process successfully.
Shower Valve Replacement: 3 Signs
Before you can begin the process of shower valve replacement, it’s important to know how to tell when that’s necessary. Check out these five signs that it’s time to replace your shower valve so you can know when it’s time to start this process.
1. Visible Wear And Tear
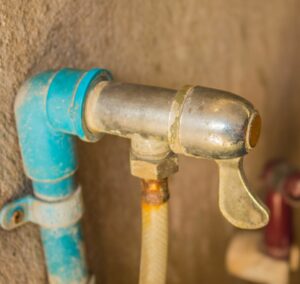
The first and most obvious sign that your shower valve needs replacing is visible wear and tear on your shower valve. If you’ve had the same shower and shower valve for a considerable amount of time, the valve will inevitably wear out. In terms of confirming whether or not the wear and tear of the shower valve is truly something to worry about, you might expect to feel the water suddenly get cold and struggle to warm up.

2. Water Leaks From The Shower
While water coming from your showerhead is something to be expected, it’s not normal for water to leak from any other part of your shower. If you turn on your shower and there seems to be water coming from places that aren’t your showerhead, turn off the water and seek help.
3. Inconsistent Water Pressure
Because the shower valve helps maintain water pressure, the moment you notice your shower pressure failing to meet its usual standard, you’ll definitely know that something is amiss. You might need to have your shower valve checked if this problem persists.
How To Replace A Shower Valve
Now that you are able to recognize the signs that it’s time for a shower valve replacement, you are ready to learn the steps involved in the replacement process itself. Follow each step carefully for the best results.
1. Find And Order A New Shower Valve
If it’s still in stock, you can order the same version of your old shower valve, but new. However, if that’s not possible, find one that will be compatible with the rest of your shower and plumbing system.
2. Gather The Right Tools
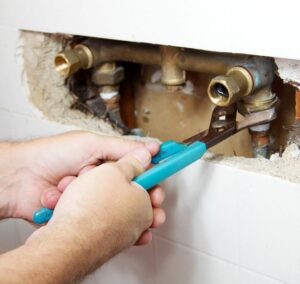
After ordering the new shower valve, ensure you have the right tools to do the job. Ensure that you have a screwdriver, pliers, saw, and cloth. Any other tools you need will ultimately depend on the type of shower valve you need.
3. Turn Off The Water Supply
Before starting any part of the shower valve replacement, ensure your water is turned off. You can even turn off the water supply to be extra certain. Doing this will prevent any potential accidents from unfolding during the replacement.
4. Follow The User Manual
At the end of the day, every shower, and thus every shower valve, is different. As a result, your best bet is to follow the appropriate user manual. Of course, you don’t need to do this job on your own.

Leave The Replacement Job To The Professionals!
While it’s important to be knowledgeable about shower valve replacement, you don’t need to replace it yourself. In fact, you can get help from our team at ASAP Plumbing Experts without worrying about a thing. Contact us today to get your shower back in working order as soon as possible.

