The kitchen is one of the most important areas of any property, residential or commercial. It is where meals are prepared and food is preserved. To keep your kitchen in shape, you need a sink to clean dishes, trays, cutting boards, and other items. A kitchen sink will also be vital if you plan to utilize a garbage disposal system. Of course, you need to know how to prepare for a kitchen sink installation, the steps to the process, and whether you should do it yourself or hire a professional. Luckily, you can find all those answers in this blog.
What To Do Before Installing A Kitchen Sink
When it comes to kitchen sink installation, it’s important to know what preparations are necessary. To start, you want to determine what kind of kitchen sink will be best for your kitchen and take the necessary measurements so you can order the correct parts. Ideally, you want a kitchen sink that fits the current opening if you’re replacing an old one.
You also want to inspect the pipes for any signs of wear and rust. If your kitchen pipes have visible rust, replace them first. Additionally, it’s important to remove existing caulk and flush out gunk and sediment before installing the new kitchen sink. Experts recommend using silicone caulk instead of plumber’s putty since it’s less likely to crack and lead to leaks. Finally, you want to turn off and disconnect the water supply before starting, especially if you must first remove your old kitchen sink.
Kitchen Sink Installation Steps
Now that you have completed the necessary preparation for a kitchen sink installation, it’s time to learn the steps for this process. Don’t forget to also consult your user manual as you install your new kitchen sink.
1. Adjust The Opening If Necessary
Hopefully, your new kitchen sink will easily fit the existing opening in the kitchen counter for your sink. If not, you can make the necessary adjustments to ensure a better fit. For accuracy, use measuring tape and a jigsaw to see how much you need to increase the opening.
2. Install The Faucet First
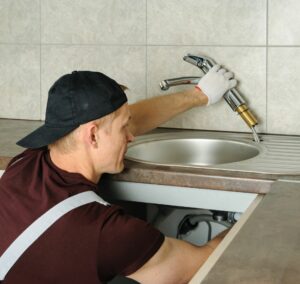
Where kitchen sink installation is concerned, there is a consensus among experts that the faucet needs to be the first part installed. As soon as the area is nice and clean, you will install the faucet based on the instructions provided in the user manual, as this step might vary depending on the type of kitchen sink being installed. If your kitchen sink utilizes a garbage disposal, you will need to insert the garbage disposal mounting bracket. Otherwise, you can move on to the next step.

3. Install The Strainer
The strainer will then need to be inserted into the drain hole. As explained earlier, while some people say to use plumber’s putty, silicone caulk will be a more durable solution for securing it in the long run.
4. Caulk The Lip Of The Sink And Set The Sink
After installing the strainer, you will also want to caulk the lip or rim of the sink opening. You want to pick a silicone caulk that will inhibit moisture and mold growth. After applying it, carefully set the sink into the opening based on manual instructions.
5. Connect To Water Supply Lines And Drain Pipes
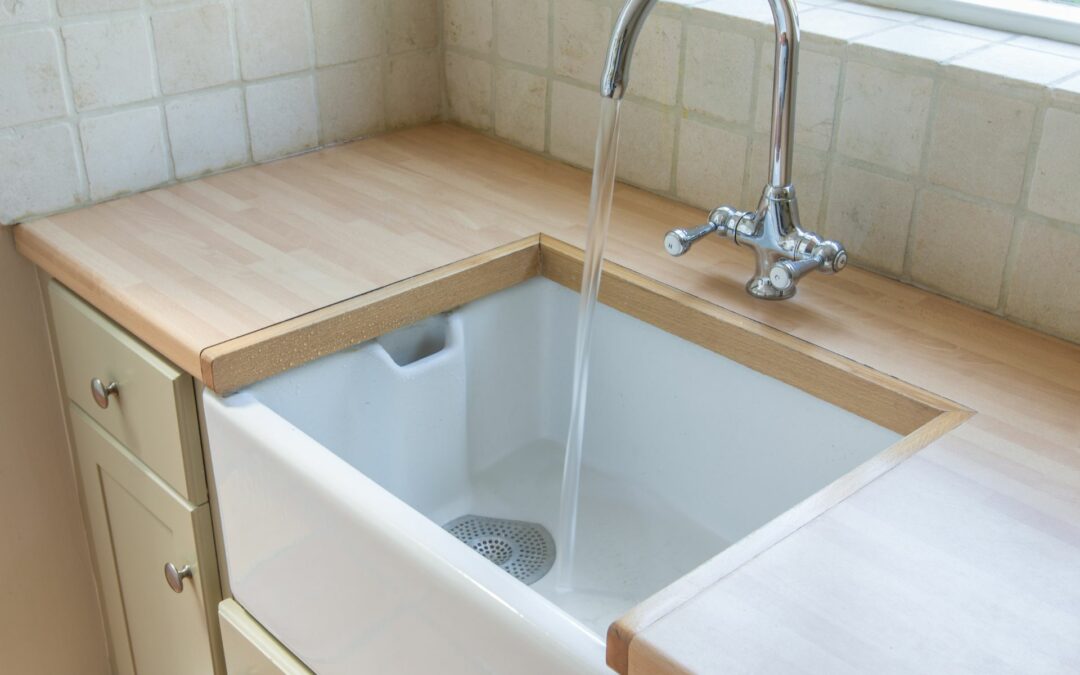
Now, you will continue to follow the specific guidelines in the user manual to connect your new sink to the water supply lines and drain pipes. Ensure that they are properly secured and attached before finally sealing the new sink. After sealing, you want to test the effectiveness of your new kitchen sink by running the water for several minutes. If there are no leaks, your new kitchen sink installation is a success.
ASAP Plumbing Experts Will Install Your Kitchen Sink!
We hope this guide to kitchen sink installation has helped you better understand what to do when you need a new kitchen sink. If you want to ensure that this installation is an absolute success, you should reach out to our stellar professional services at ASAP Plumbing Experts. Contact us today for a seamless kitchen sink installation.

